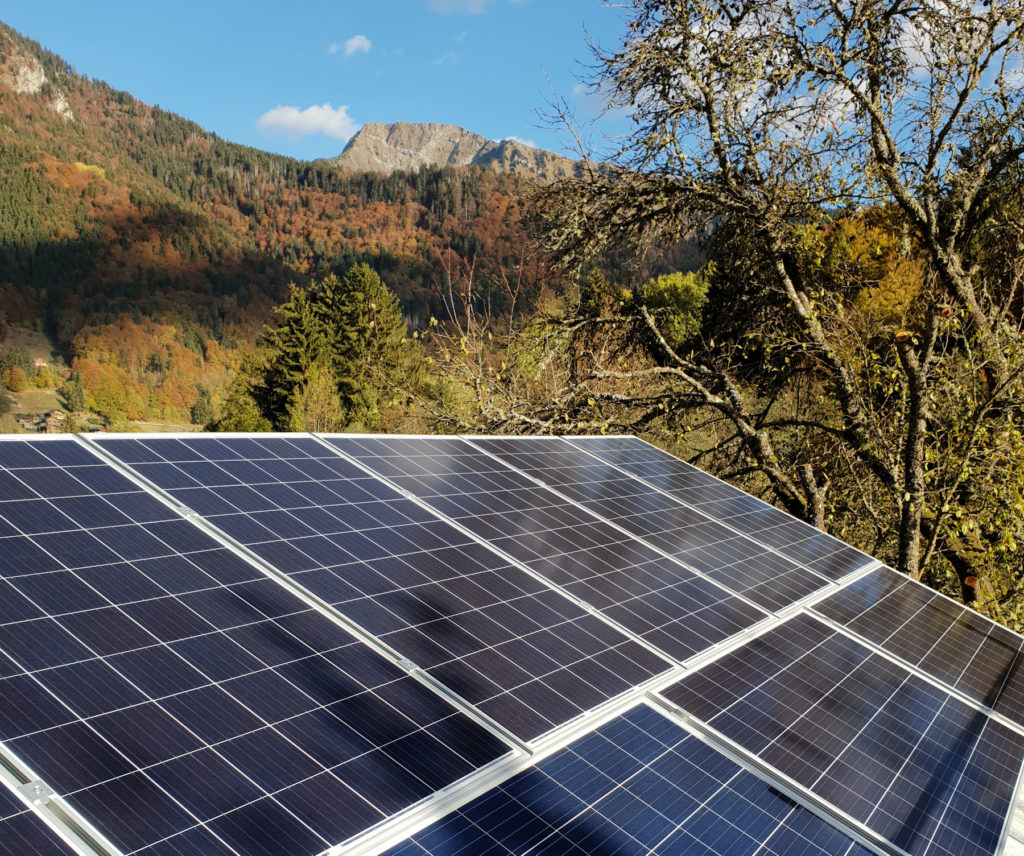
3 years ago I wrote about an Electric Car in the snow. I still have an electric car, it looks just like the last one, however it goes further and charges more quickly. I want to use the greenest form of transport I can, so the next logical step is to install photovoltaic (PV) solar panels. If you don’t think EV’s (electric vehicles) and PV’s are as green as some people make out, then check out my thoughts here.
I finally got around to working out if I could make photovoltaic (PV) solar panels pay their way. Although I like to try and be as green as I can, I’m only really that interested if being green can save money too. If you compare the payback of anything today to what you’d get from money saved in the bank. Any sort of payback wins!
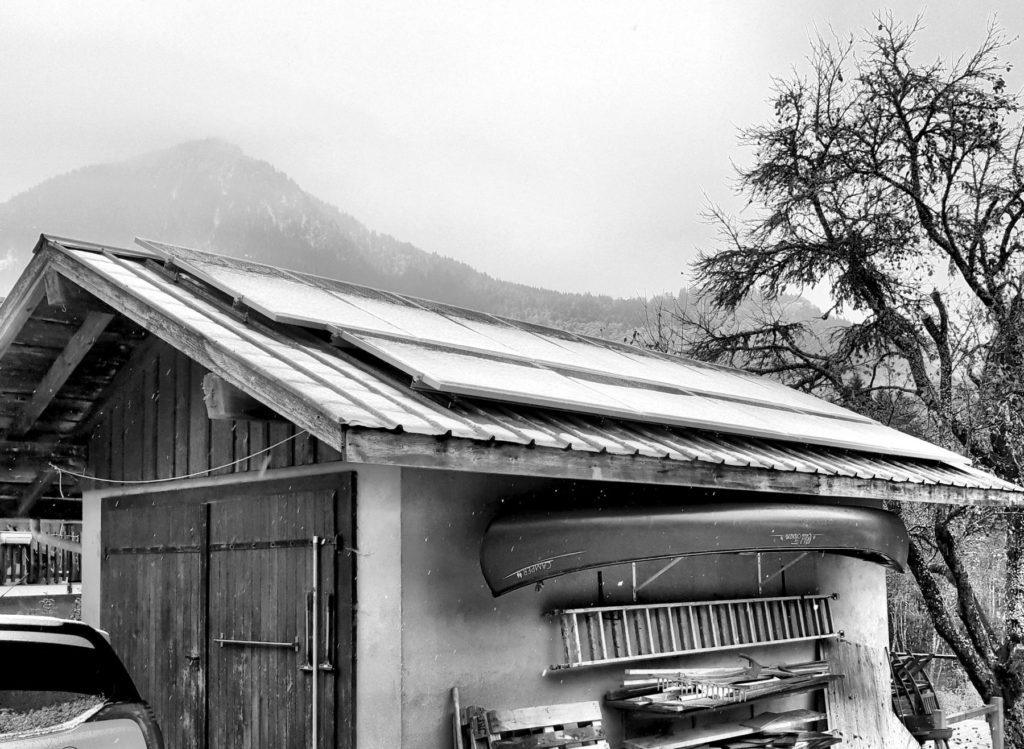
But first, I can confirm that PV’s don’t produce electricity when covered in snow. This is a non issue for a number of reasons. In the depths of winter the PV’s don’t produce much electricity anyway. If you look at the table below, you will see that in December they only produce 20% of the power of June. Secondly, although I live at 840m altitude in the Alps, I don’t think they will be covered with snow for that may days. Because even when it does snow, once the sun comes out the snow will slide off the same day.
The calculations
First of all I wanted to know how much power my EV needs in a year. I drive 12,000 km/year. That’s 33 km/day, the car has a real world efficiency of 12 kw/100km, so that means I need 4kw of power for an average day’s driving. This real world figure is available on my car’s dashboard, it’s like your IC (internal combustion) car’s fuel consumption figure. So it takes into account the hills, the type of driving you do, and a particular issue for EV’s, the cold temperatures.
Next, you have to work out how much power you can generate where you live. This is quite easy to do. Thanks to the EU there is a web-based calculator that takes everything into account. Your local weather, days of snow cover, even shading from the surrounding mountains. You will need to know which direction your panels will face, use a compass, (or your phone). This is dictated by where you are going to mount them, in my case that is my garage roof. The angle at which they will be mounted (inclination), use a protractor (or your phone). Then you will need to know how many panels your roof will take. You can use this excellent calculator for that easy-pv.co.uk/, in my case that was 11 panels.
Panels produce between 250-300 W each, the best value panels (not necessarily the prettiest) are currently 270 W, so 270 x 11= 2.97 kw
So the numbers I needed
Power of system 2.97 kw
PV type Crystaline Silicon
Inclination 30°
Orientation 230°, which seems to translate to 50° on this site
Location (use Google maps) 46.231, 6.647
Plug the numbers into the updated site
http://re.jrc.ec.europa.eu/pvg_tools/en/tools.html#PVP
This is the result I got, the new site has more pictures!

So from this you can see that the average daily yield is 7.76 kWh, I mentioned before my car would need 4 kWh, which means that for the space I had available I could almost power two cars (or drive twice as far).
Permission
You need permission off the grid, so in France that is Enedis. I had decided that I wanted to keep the process as simple and the best value as possible. I think the best way to do this is install the system yourself and not to sell any excess power back to the grid. In other words to set the system up so you can use all the power produced. To sell excess power back to the grid you have to use a professional installer, in which case the purchase costs double, which destroys the value of the whole proposition.
This is the site which explains about the permission https://www.enedis.fr/produire-de-lelectricite#etape-prealable, you’ll see that at the top it says you’ll need to ask for permission from the local mairie, that’s not planning permission. But a déclaration préalable de travaux (DP), which is easier than planning permission. You pick the forms up from the mairie. If you have got this far, then you’ll find they are not hard to fill out. Hand them back and wait for a decision from the council. It’ll depend how long it is to the next meeting. For me it was a month. Once you have the permission, you need to go back to the Enerdis site, create an account, upload your forms and a certificat de conformité for your equipment (available from your supplier). They will create a contract (Convention d’auto-consommation sans injection) for you to sign digitally. I had to wait a week for this.
Fitting the PV’s
Then it was time to get started! I started this process in June, it took until October to get to this stage. It would have made much more sense to start the process in January, however life doesn’t work like that does it?
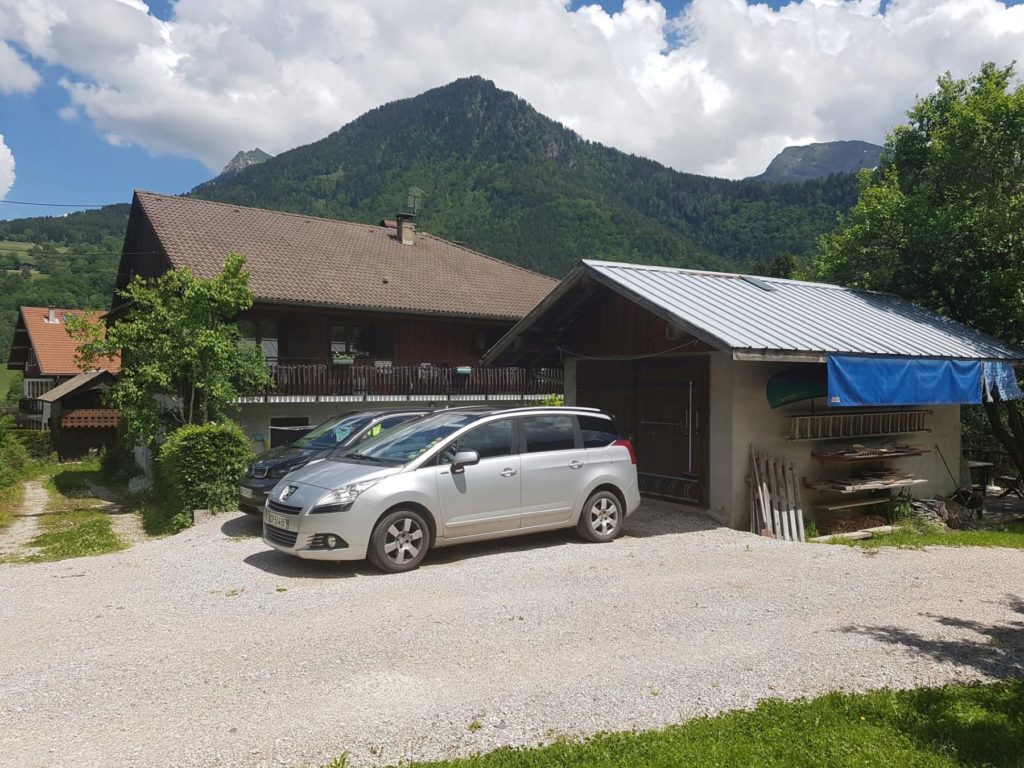
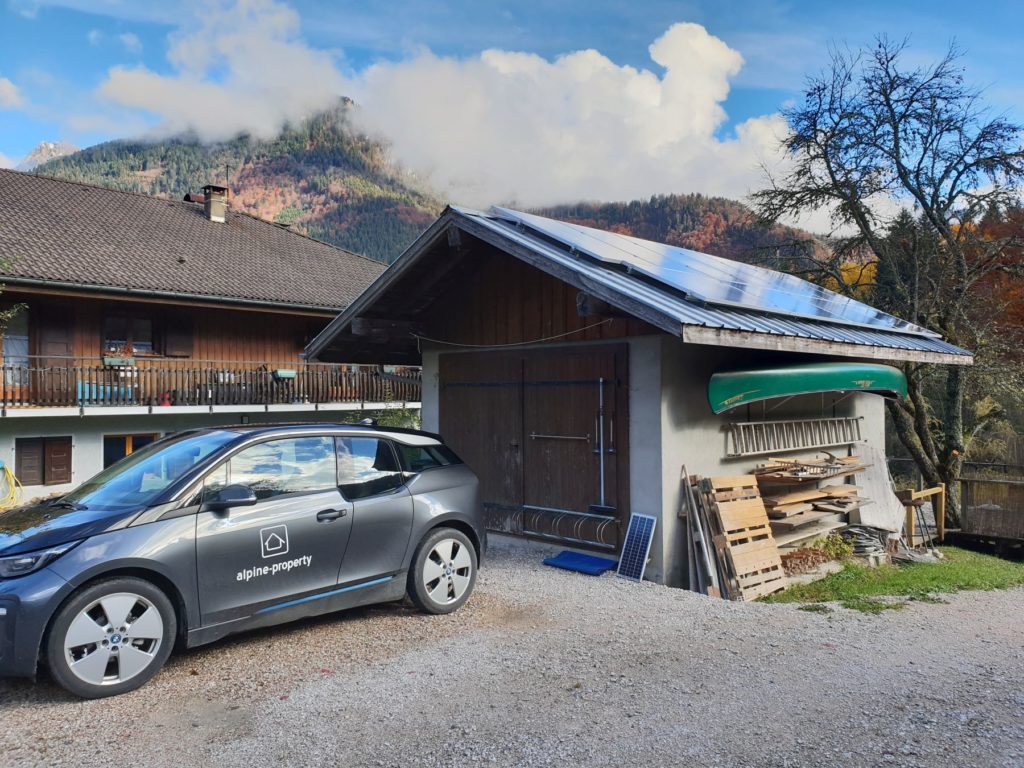
I had chosen the garage, not because of its proximity to the car, but because it was more accessible to an amateur like myself. It’s closer to the ground for a start!
The first job was to trim back the obvious tree. PV’s really do not like shade.
Then I ordered the equipment. It all fitted onto one pallet.
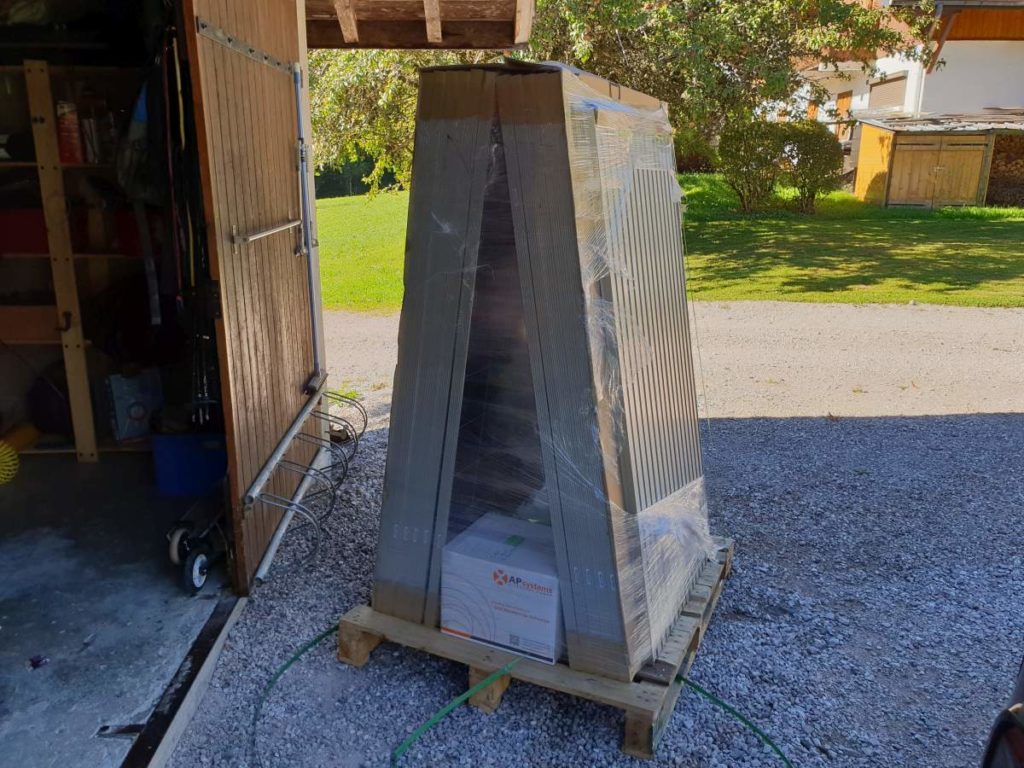
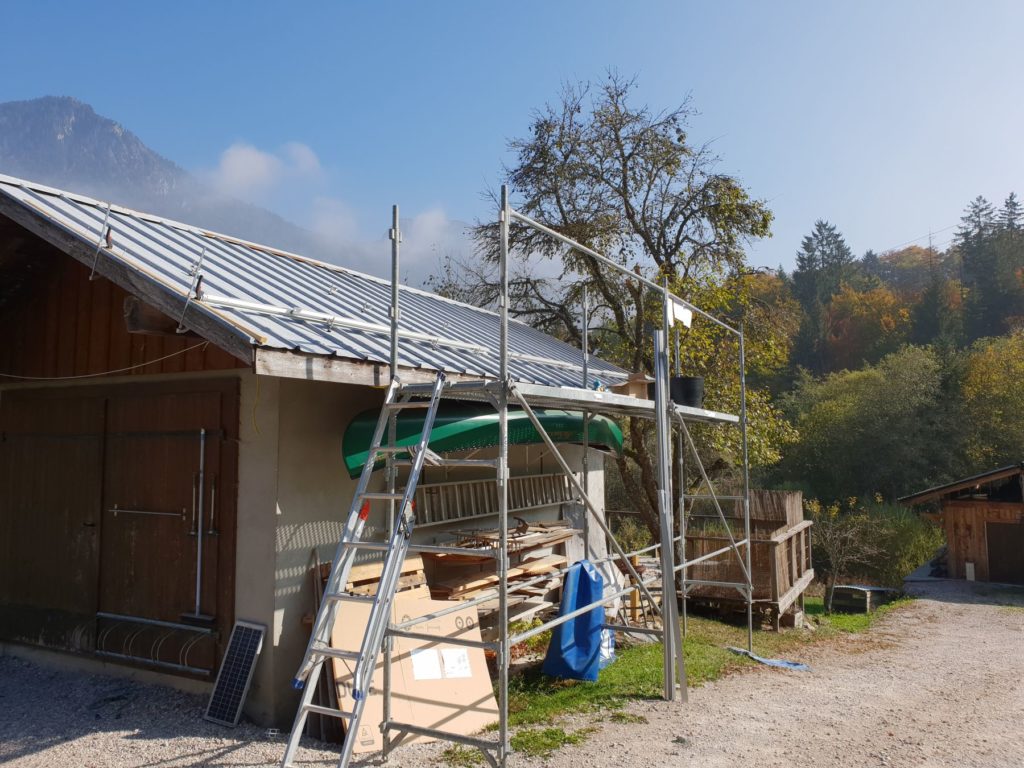
A friend lent me some scaffolding. I had thought that I could just use a ladder. That was a dumb idea. You will need scaffolding, and for most of the fitting, you will need a second pair of hands!
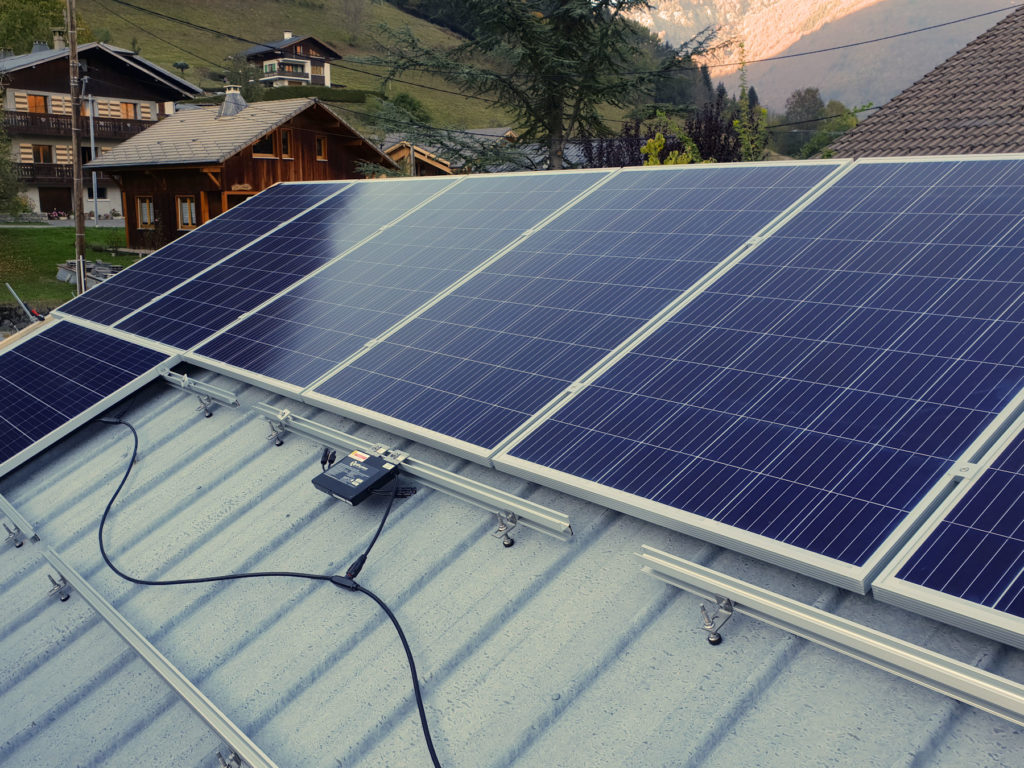
Fitting the rails and panels took 2 people two afternoons. Here you can see one of the inverters (onduleur in French). With this system there is one inverter for 2 panels. These little devices convert the 20 V (ish) DC power the panels produce into 230 V AC power that the house (and car) use. As an aside, it’s a shame to do this, as the car then converts it back to DC power to charge its batteries. Oh well ![]() . All the wiring on the roof is “plug and play”, all waterproofed and no screwdrivers required.
. All the wiring on the roof is “plug and play”, all waterproofed and no screwdrivers required.
Working on a roof in the mountains, during a sunny autumn is a joy.
The wiring
Not much to do here. In this case we just plugged them into a socket! There is an isolator switch in this picture, though in this case you can isolate the panels by unplugging the socket. We were supplied with a meter too, it’s not strictly necessary, however it is nice to know how much power the panels are producing. I have checked the numbers against the calculations and they match very closely. You can go to town on the monitoring. I could be monitoring electricity produced compared to electricity consumed in real-time from my desk. However it is all extra cost.
One point of note. When the panels are unplugged from the mains, the inverters switch off. So you can’t be electrocuted. If this did not happen, and the power to your house went off, the panels would still be producing electricity and you, your electrician or even a grid worker could be in danger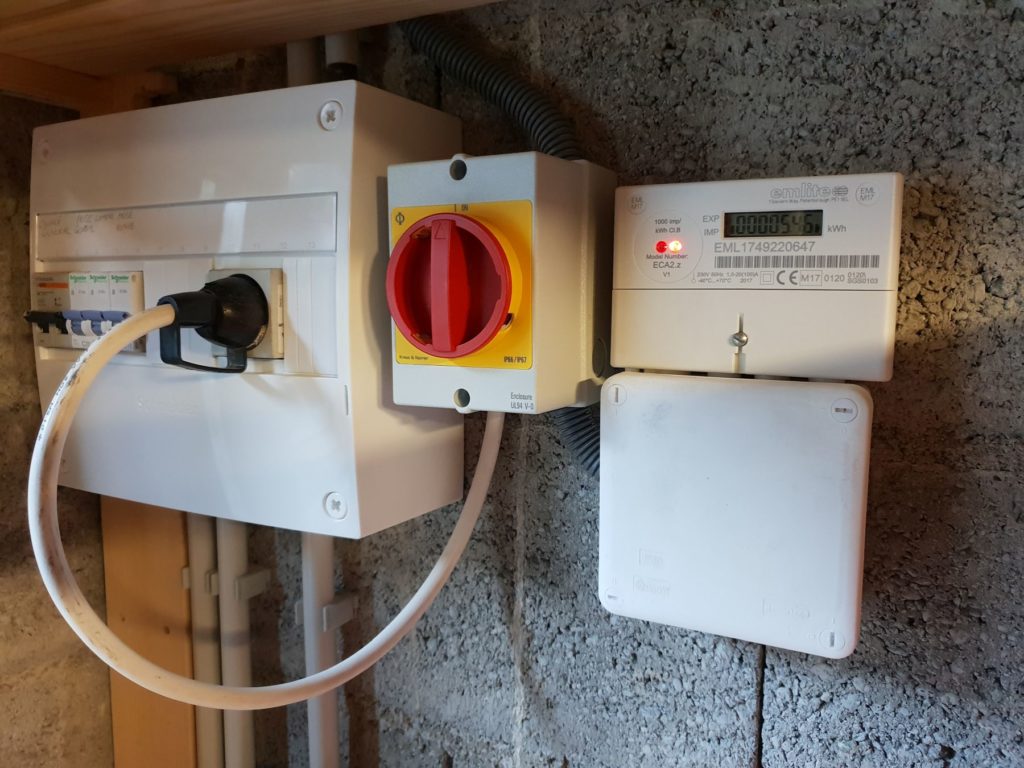
The finished job, complete with electric car. The car is not plugged into the panels themselves. The car is plugged into the domestic electricity system. The panels are plugged into the same system. The car could be using the power produced, but then so could my fridge, computer, lights or whatever, and as I work from home there is always power being consumed during the day.
Further considerations for your solar installation
I have used polycrystalline panels. The panels have an electric blue colour to them. They don’t look too bad on the metal garage roof, they are not overlooked by anyone either. However if I was to do the same thing on the house roof I would consider a matt black panel. It’s possible that in a few years the panel to use will be “thin film”, especially with a large area to cover.
My house has a 3-phase electrical system. This makes using all the power these panels produce harder to sort out. There are various things that could be done, it’s not particularly complicated. It is worth thinking about in advance though.
Resources
Two fascinating real-time breakdowns of where you electricity is coming from, hour by hour One for France https://www.rte-france.com/fr/eco2mix/eco2mix-mix-energetique and another for the UK http://electricinsights.co.uk/#/dashboard?_k=16xtar
A simple power calculator https://powercalculator.ibc-solar.com/
Some chat on how to deal with 3-phase power https://www.solarchoice.net.au/blog/solar-power-single-phase-vs-3-phase-connections
3-phase again, in French https://www.kitsolaire-autoconsommation.fr/kit-panneau-solaire/kit-solaire-autoconsommation/kit-solaire-triphase-grande-puissance/#combinaison
Immersion controllers, the simplest way to store excess power https://midsummerwholesale.co.uk/buy/solar-immersion-controller
This could be the future however it is expensive at the moment. A great way to store excess summer generation for the winter. https://www.pveurope.eu/News/Power-Heat/Home-Power-Solutions-starts-distribution-of-Picea-micro-fuel-cell-system
This could be a very interesting addition to the system https://myenergi.uk/products/ however it might make more sense if I was selling power back to the grid.
Fully charged has spent 10 minutes reviewing it.
Thanks
Thanks to Mark Chewter at http://www.pluginsolar.co.uk/ he supplied all the equipment. His advice on the type of fixings to use on my roof was invaluable too. 54 emails in the end. Thanks to Ady for the scaffolding and first days help with getting the panels up, also for his skills as measuring up to drill the holes. That’s the hard bit, drilling the holes is easy! Steve for the second afternoon of panel fixing and Richard for the finishing touches and all the final electrics.

